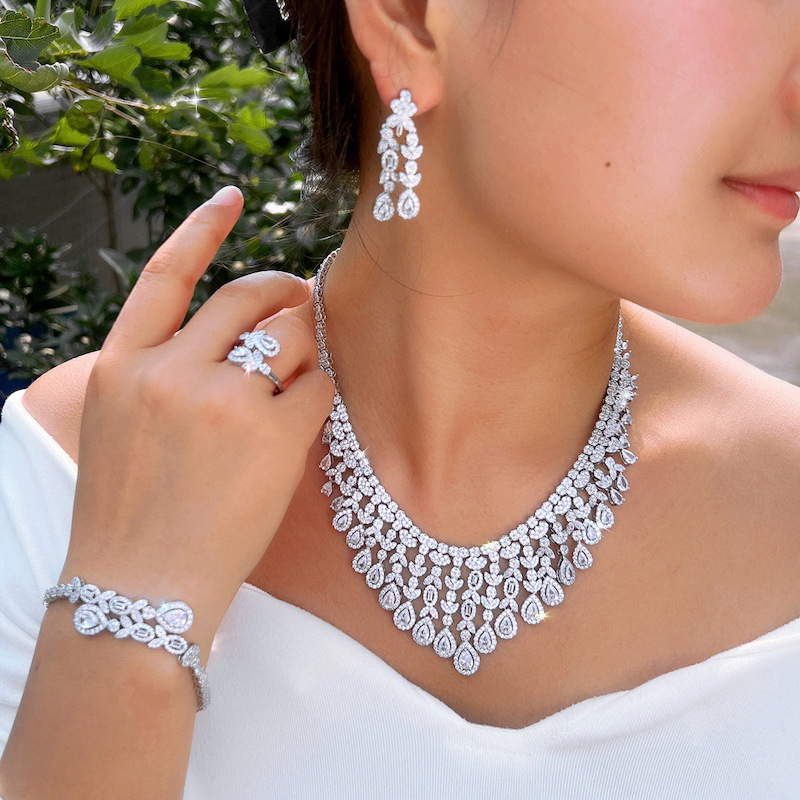
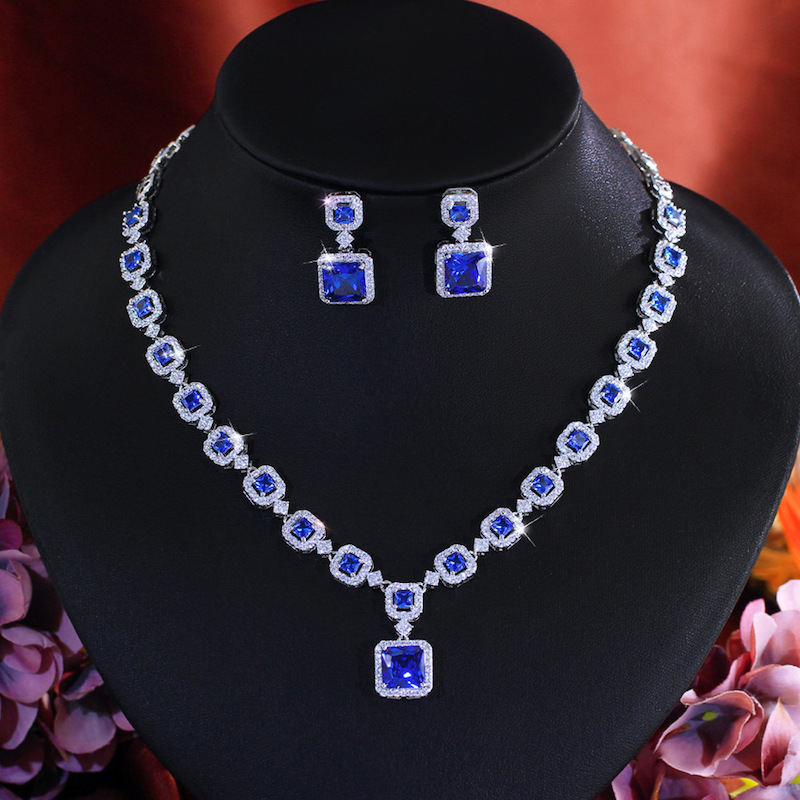
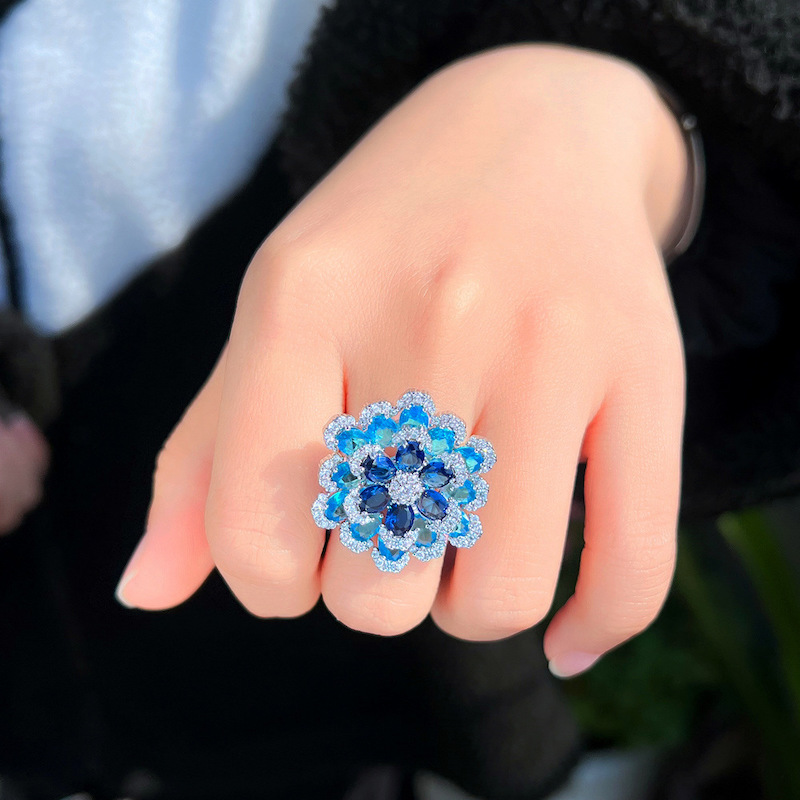
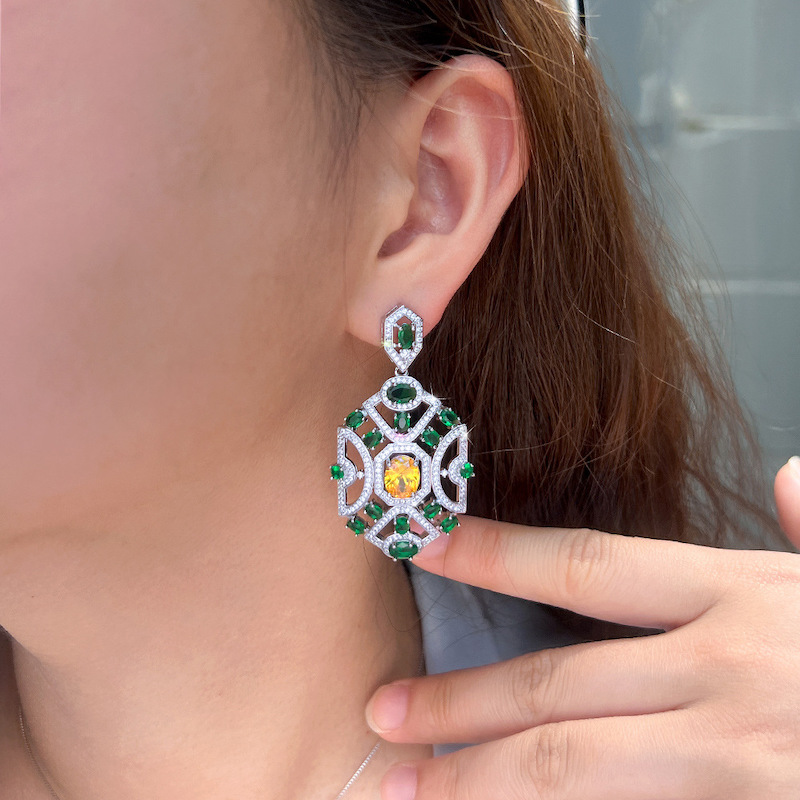
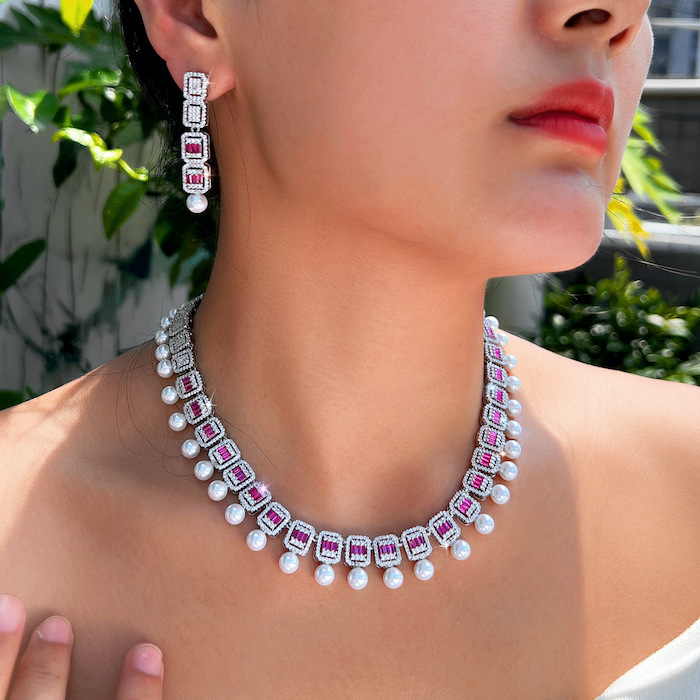
It is really top important for fashion jewelry business that when you order bulk production from the professional jewelry manufacturer, do you know how to control well the quality for every piece? The allure of jewelry, even at accessible price points, hinges fundamentally on perceived quality and consistent brilliance. Cubic Zirconia (CZ), as a popular diamond simulant, offers remarkable fire and affordability, making it a cornerstone of the fashion and fine jewelry markets. However, its very accessibility and the scale of bulk production (often exceeding thousands of units per run) present unique quality control (QC) challenges. A single loose stone, a misaligned setting, a plating flaw, or poor clasp function in a significant portion of a large batch can lead to catastrophic consequences: massive returns, eroded brand reputation, lost customer trust, and significant financial loss.
Controlling quality in CZ bulk production isn’t merely about catching defects; it’s about building a robust, integrated system that prevents them from occurring in the first place and efficiently identifies any that slip through. This requires a meticulous, multi-stage approach encompassing raw materials, manufacturing processes, final inspection, and continuous improvement. This article delves deep into the strategies, methodologies, and critical checkpoints necessary to ensure consistent, high-quality CZ jewelry when producing at scale.
I. Laying the Foundation: Pre-Production Quality Assurance
Quality control begins long before the first stone is set or the first clasp is attached. Proactive measures at this stage prevent downstream issues and ensure consistency.
-
Supplier Qualification & Raw Material Sourcing:
-
CZ Stone Suppliers: Rigorous vetting is paramount. Audit suppliers for:
-
Consistency: Demand tight tolerances on key parameters across large batches: color (D-E-F range preferred for diamond simulants), clarity (eye-clean minimum, VVS/VS ideal), cut (precision of facets, symmetry, proportions – adherence to specific cuts like Round Brilliant, Princess, etc.), and carat weight (calibrated stones within a defined tolerance, e.g., +/- 0.02ct). Request certificates of analysis or detailed spec sheets per batch.
-
Material Quality: Ensure the CZ is high-grade, lead-free (crucial for skin safety and regulations), and possesses good hardness (8-8.5 Mohs) and refractive index (~2.15-2.18) for optimal sparkle.
-
Traceability: Implement batch traceability systems from the supplier. Knowing the origin of every stone allows for targeted recalls if issues arise later.
-
Testing: Conduct regular incoming inspection audits (see Section II) and perform periodic independent lab tests on random samples for critical parameters (density, RI, spectroscopy to confirm material composition).
-
Metal Suppliers:
-
Alloy Composition: For base metals (brass, copper alloy, zinc alloy), verify composition certificates ensuring lead and nickel compliance (especially for EU REACH, California Prop 65). For silver (925 Sterling), confirm fineness via assay or XRF testing on samples. For gold plating, know the karat (e.g., 14k) and thickness specification.
-
Surface Quality: Sheets, wires, and castings should be free from excessive pits, scratches, porosity, and oxidation before processing.
-
Plating Solutions: Source high-quality plating solutions (rhodium, gold, rose gold, etc.) from reputable suppliers. Verify purity and concentration regularly. Ensure compatibility with base metal.
-
Design for Manufacturability (DFM) and Quality:
-
Design Review: Involve production engineers and QC managers early in the design phase. Assess designs for:
-
Setting Feasibility: Can prongs, bezels, or channels be consistently and securely executed at high volume? Avoid overly delicate designs prone to breakage.
-
Stone Security: Ensure settings provide adequate physical protection for the CZ stones, especially in rings and bracelets subject to impact.
-
Durability: Consider wear points (e.g., clasp mechanisms, ring bands, bail attachments). Reinforce high-stress areas.
-
Plating Coverage: Design should allow for complete and even electroplating coverage (avoid deep, narrow crevices).
-
Ease of Inspection: Can critical areas (stone tables, setting points, clasp interiors) be easily accessed and inspected visually or with tools?
-
Prototype & Pilot Run: Never skip this step for bulk production.
-
Create functional prototypes using the intended materials and processes.
-
Conduct rigorous testing on prototypes (wear simulation, tarnish tests, stone security checks, clasp function cycles).
-
Run a small pilot production batch (e.g., 100-500 units) using the full production line. This identifies unforeseen process bottlenecks, tooling issues, material inconsistencies, and establishes initial QC benchmarks before committing to thousands of units.
-
Detailed Specifications & Documentation:
-
Comprehensive Tech Packs: Develop unambiguous technical packages for every SKU. Include:
-
Detailed drawings with critical dimensions and tolerances.
-
Precise material specifications (CZ size, color, clarity grade; metal type and grade; plating type and thickness).
-
Setting type and requirements (e.g., prong height, tightness).
-
Finish requirements (e.g., polish level, brush finish areas).
-
Packaging specifications.
-
Acceptable Quality Level (AQL) Tables: Define the statistically valid sampling plans and defect classification (Critical, Major, Minor) for each stage of inspection (incoming, in-process, final). ANSI/ASQ Z1.4 or ISO 2859-1 are common standards.
-
Standard Operating Procedures (SOPs): Document every critical process step meticulously – stone sorting, setting procedures, polishing techniques, plating parameters (time, temperature, current density), cleaning methods, inspection criteria. Ensure these are readily available on the production floor.
II. The Vanguard: Incoming Quality Control (IQC)
Preventing defective materials from entering production is the first line of defense.
-
CZ Stone Inspection (Bulk):
-
Sampling: Apply the pre-defined AQL sampling plan based on batch size. Inspect a statistically significant number of stones from multiple points within the shipment.
-
Visual Inspection (Loupe/Microscope):
-
Clarity: Check for inclusions, clouds, cracks (feathers), chips, or excessive abrasions (especially on girdle and pavilion). Use consistent, bright lighting.
-
Color: Compare stones against master comparison stones under controlled daylight-equivalent lighting (D50/D65). Look for off-color tints (yellow, gray, brown). Consistency within the batch is as crucial as matching the master.
-
Cut Quality: Assess symmetry (facet alignment, table centering), proportions (table size, crown height, pavilion depth), and polish quality (facet sharpness, absence of polishing lines or burns). Use a proportion scope or high-magnification microscope for critical assessment.
-
Measurement: Use precise digital calipers or a micrometer to verify diameter (for rounds) or length/width (for fancies) against specification. Check girdle thickness consistency.
-
Advanced Verification (Spot Checks):
-
Thermal Conductivity Testers: While primarily for diamond detection, these can quickly verify stones are CZ (low thermal conductivity) and not moissanite (high conductivity) or diamond. Crucial for preventing costly substitution errors.
-
Refractometer: Confirm refractive index (RI) falls within the expected CZ range (~2.15-2.18).
-
UV Fluorescence: Note fluorescence characteristics (CZ often shows strong orange/yellow under LW UV, inert or weak under SW; diamond can vary). Useful as an additional identifier.
-
Density (Specific Gravity): Spot check using hydrostatic weighing. CZ density (~5.6-6.0) is significantly higher than most natural gemstones (except diamond ~3.52).
-
Documentation & Segregation: Record results meticulously. Reject batches failing AQL criteria. Quarantine and segregate approved batches clearly.
-
Metal Component Inspection:
-
Visual Inspection: Check sheets, wires, castings, findings (clasps, jump rings, earring posts) for surface defects (pits, scratches, dents, porosity, oxidation, contamination).
-
Dimensional Checks: Verify critical dimensions (thickness, diameter, length) against drawings using calipers, micrometers, or go/no-go gauges.
-
Material Verification:
-
X-Ray Fluorescence (XRF) Analyzer: Essential for bulk. Quickly and non-destructively verifies base metal alloy composition (ensuring lead/nickel compliance) and precious metal plating thickness/fineness. Perform on a statistically valid sample size per batch/lot.
-
Fineness Assay (For Sterling Silver): Destructive testing on samples to confirm 92.5% silver content.
-
Plating Solution Analysis: Regularly test plating bath solutions for metal concentration, pH, and contaminant levels to ensure consistent plating quality.
III. The Crucible: In-Process Quality Control (IPQC)
Catching deviations during manufacturing minimizes waste and rework. Key stages include:
-
Stone Sorting & Matching (Pre-Setting):
-
Color Grading: Sort loose stones into tightly controlled color batches using controlled lighting and comparison masters. This is critical for pieces with multiple stones (e.g., halo rings, tennis bracelets) to ensure visual uniformity.
-
Size Calibration: Verify stones within a setting batch are within the tight tolerances required for the specific setting type (e.g., channel setting demands extremely consistent dimensions).
-
Clarity Check: Final visual inspection for chips or cracks immediately before setting.
-
Fabrication & Assembly:
-
Dimensional Checks: Verify components (bands, heads, bails, chains) meet specifications at key stages (e.g., after forming, soldering, assembly) using templates, gauges, or CMMs (Coordinate Measuring Machines) for complex pieces.
-
Solder Joint Integrity: Visually inspect joints for completeness, smoothness, and lack of porosity. Spot check with magnification.
-
Surface Finish (Pre-Plating): Check for consistent polishing/brushing, removal of all tool marks, scratches, and burrs. Imperfections here will show through plating.
-
Stone Setting:
-
Critical IPQC Point: Setting is a major source of defects. Implement rigorous checks:
-
Security: Use calibrated tension testers on a sample of settings to ensure stones cannot be dislodged under reasonable force. Visually check for tight prongs (no rocking), flush bezels, and secure channel/pave settings. Listen for rattles.
-
Alignment: Ensure stones are level, not tilted, and properly centered within their settings. Symmetry is key for multi-stone pieces.
-
Damage Prevention: Inspect for tool marks on metal surrounding stones, chipped girdles, or scratched tables caused by setting tools. Use high magnification.
-
Operator Certification: Ensure setters are trained and certified on specific setting types. Regular skill assessments are vital.
-
Polishing & Finishing:
-
Final Surface Quality: Inspect for a consistent, high-luster polish or defined brush finish. Ensure no polishing compound residue remains, especially around stones or in crevices. Check for over-polishing that thins prongs or edges.
-
Edge Smoothness: Verify all edges are smooth and comfortable, with no sharp points or burrs.
-
Electroplating:
-
Process Control: Rigorously monitor and record plating bath parameters (temperature, pH, current density, time, solution concentration) continuously.
-
Adhesion Testing: Perform periodic tape tests (per ASTM B571) on sample pieces to ensure plating adhesion is sufficient. Bend tests on wires can also reveal adhesion issues.
-
Thickness Verification: Use XRF or specialized plating thickness gauges (e.g., coulometric, beta backscatter) on samples to ensure minimum thickness specifications (e.g., 0.5 microns, 1.0 microns) are consistently met across racks.
-
Visual Inspection (Post-Plating): Check for color consistency, even coverage (no skips, dull areas, or “burning”), lack of pits, nodules, or contamination. Inspect inside rings, clasp tongues, and chain links.
-
Cleaning & Rinsing:
-
Residue Removal: Ensure thorough cleaning to remove all plating salts, oils, and polishing compounds. Inadequate rinsing causes spotting, tarnishing, and dermatitis risks. Test rinse water conductivity/resistivity.
-
Drying: Verify pieces are completely dry before final inspection and packaging to prevent water spots or tarnish.
IV. The Final Gate: Finished Goods Inspection (FGI)
This is the last chance to catch defects before products reach the customer. It must be systematic and rigorous, using the defined AQL sampling plan.
-
Visual Inspection (Magnified & Naked Eye):
-
Overall Appearance: Assess general finish, shine, color consistency (metal and stones), and aesthetic appeal. Reject pieces with glaring aesthetic flaws.
-
Stones:
-
Security: Repeat tension testing on a sampling basis. Visually check every stone for looseness, rattling, or misalignment. Ensure all prongs are properly formed and touching the stone.
-
Condition: Inspect every stone for chips, cracks, scratches (especially on the table), and excessive inclusions visible to the naked eye. Check for cleanliness (no residue).
-
Color & Matching: Verify color consistency across all stones in a piece and against the standard. Check matched pairs (earrings) are identical.
-
Metal:
-
Plating Quality: Check for color consistency, smoothness, pitting, peeling, scratches, tarnish, or discoloration. Pay special attention to high-wear areas (ring bands, clasp contact points).
-
Surface Defects: Look for dents, deep scratches, porosity, solder marks, or polishing imperfections.
-
Construction: Verify soldered joints are clean and strong, links are properly closed, components are aligned correctly.
-
Findings & Functionality:
-
Clasps: Test functionality repeatedly (open/close 10-20 times). Check for smooth operation, secure closure (spring tension), and no deformation. Ensure safety catches engage properly.
-
Earring Backs: Verify friction backs hold securely. Check posts are straight and smooth.
-
Jump Rings & Bails: Ensure they are fully closed and soldered (if required), free from sharp edges.
-
Chains: Check for consistent link formation, smoothness, freedom from kinks or weak links. Test overall drape and flexibility.
-
Dimensional Verification (Spot Check): Confirm critical dimensions (ring size, chain length, pendant drop) on a sample basis against specification.
-
Durability & Wear Simulation (Spot Check/Destructive Testing):
-
Tumble Test: Simulate wear by tumbling samples with abrasive media. Check for plating loss, stone chipping/loosening, metal wear, or clasp failure.
-
Tarnish Test: Expose samples to sulfurous atmosphere (e.g., liver of sulfur) to accelerate tarnishing and assess plating/underlying metal resistance and cleaning effectiveness.
-
Pull Test: Apply calibrated force to chains or clasps to test breaking strength.
-
Cyclic Testing: Repeatedly open/close clasps hundreds of times to assess long-term durability.
-
Marking & Hallmarking Verification: Ensure any quality marks (e.g., “925”, “CZ”), brand stamps, or logos are present, legible, correct, and placed appropriately.
-
Packaging Inspection: Verify packaging is correct, undamaged, clean, and presents the jewelry professionally. Check for proper inserts, tags, barcodes, and any required compliance labeling (e.g., material content).
V. Beyond Inspection: Building a Quality Ecosystem
True quality control transcends inspection checkpoints:
-
Statistical Process Control (SPC): Collect and analyze data from IQC, IPQC, and FGI. Track defect types, frequencies, and locations. Use control charts to monitor process stability and identify trends before they exceed tolerance limits. This drives proactive correction.
-
Calibration & Maintenance: Implement a strict schedule for calibrating all measurement and testing equipment (calipers, scales, tension testers, XRF, microscopes). Regularly maintain production machinery and plating baths to prevent drift.
-
Training & Empowerment: Invest in continuous, hands-on training for all personnel – operators, setters, polishers, platers, and inspectors. Foster a culture where everyone takes ownership of quality and feels empowered to stop production if a quality issue is detected.
-
Corrective & Preventive Action (CAPA): Establish a robust system to:
-
Contain defects when found (quarantine).
-
Analyze root causes (5 Whys, Fishbone diagrams).
-
Correct the immediate issue.
-
Prevent recurrence through process changes, training updates, or specification amendments.
-
Verify the effectiveness of actions taken.
-
Traceability: Maintain batch-level traceability throughout the entire process – from raw material lots to finished goods. This enables targeted recalls if necessary and aids in root cause analysis.
-
Audits:
-
Internal Audits: Regularly audit the entire QC system against SOPs and standards. Check record-keeping, calibration status, adherence to sampling plans, and operator compliance.
-
Supplier Audits: Periodically audit key suppliers (CZ, metal, plating) to verify their QC systems and processes remain effective.
-
Customer Feedback Loop: Actively collect and analyze customer complaints and returns. Use this vital data to identify QC blind spots and prioritize improvement efforts.
VI. Addressing Common Bulk CZ Jewelry Defects & Prevention
-
Loose or Missing Stones: Prevention: Rigorous setting SOPs, operator training/certification, pre-setting stone size calibration, tension testing (IPQC & FGI), secure setting designs (DFM).
-
Chipped or Scratched Stones: Prevention: Careful handling procedures (soft tweezers, trays), protected storage, setting tool maintenance, pre-setting clarity check, avoiding impact during polishing/tumbling.
-
Poor Stone Color Matching: Prevention: Strict incoming CZ color grading, tight sorting before setting, controlled lighting for matching, master comparison stones.
-
Plating Wear/Peeling/Tarnish: Prevention: Strict plating process control, proper base metal preparation/cleaning, adequate plating thickness (verified by XRF), post-plating cleaning/rinsing/drying, protective packaging, adhesion testing (IPQC).
-
Clasp Malfunction: Prevention: Incoming inspection of findings, functional testing during assembly and FGI, durability testing (cyclic/pull), design review for robustness.
-
Poor Polish/Scratches/Burrs: Prevention: Defined polishing SOPs, proper wheel selection/maintenance, staged polishing (coarse to fine), pre-plating surface inspection, careful handling post-polishing.
-
Solder Failures/Porosity: Prevention: Clean joint preparation, correct flux/solder application, calibrated soldering equipment, operator training, visual inspection post-soldering.
-
Dimensional Inaccuracy: Prevention: Clear drawings with tolerances, calibrated tooling/molds, in-process dimensional checks, use of jigs/fixtures.
VII. Leveraging Technology for Efficiency & Accuracy
-
Automated Optical Inspection (AOI): For high-volume items like simple stud earrings or chains, AOI systems using cameras and AI can rapidly detect surface defects, missing stones, gross misalignments, and plating flaws faster than human inspectors.
-
Machine Vision for Stone Sorting: Automated systems can sort CZ stones by size, color, and sometimes clarity with high speed and consistency, reducing manual labor and variability.
-
Digital Microscopy & Imaging: Allows inspectors to capture and annotate images of defects for training, documentation, and supplier feedback. Facilitates remote review by experts.
-
QC Software Platforms: Centralized systems for managing inspection data, AQL sampling, defect tracking, CAPA, calibration schedules, and reporting. Provide real-time dashboards and analytics.
-
Advanced Material Testing: Benchtop XRF and FTIR (Fourier Transform Infrared Spectroscopy) spectrometers provide rapid, non-destructive material identification and plating analysis.
VIII. Sustainability and Ethical Considerations in QC
Modern QC extends to responsible practices:
-
Material Sourcing: Ensure CZ and metals are sourced from suppliers adhering to environmental regulations and ethical labor practices. Traceability is key.
-
Waste Reduction: Effective QC reduces scrap and rework. Implement recycling programs for metal scraps and plating solutions.
-
Chemical Management: Safely handle and dispose of plating chemicals, acids, and cleaning solvents according to regulations. Seek less hazardous alternatives.
-
Durability = Sustainability: Producing long-lasting jewelry that doesn’t quickly tarnish, lose stones, or break reduces returns and waste, contributing to sustainability. QC ensures this durability.
Totally, Controlling quality in bulk CZ jewelry production is a complex, demanding, yet absolutely essential endeavor. It requires moving beyond simple final inspection to embrace a holistic, integrated system spanning supplier management, design, meticulous process control at every stage, rigorous inspection protocols (IQC, IPQC, FGI), robust data analysis, and a pervasive culture of quality ownership. The stakes are high – the reputational and financial costs of poor quality at scale are immense.
The rewards, however, are equally significant: minimized waste and rework, maximized production efficiency, reduced returns, enhanced brand reputation, unwavering customer loyalty, and the ability to consistently deliver the sparkle and perceived value that customers expect, even from high-volume, affordable fashion jewelry. By implementing the comprehensive strategies outlined in this guide – from vetting the raw sparkle of each CZ to ensuring the final clasp clicks with perfect reliability – manufacturers can master the art and science of quality, ensuring their bulk CZ jewelry shines with consistent, dependable brilliance. It is an ongoing journey of vigilance, measurement, analysis, and improvement, but it is the indispensable foundation for success in the competitive world of jewelry manufacturing.
